
Thinking about adding a deck to your home? It’s a fantastic way to create more outdoor living space for cookouts, relaxing, or just enjoying the sun. Building a deck might seem like a huge task, but it’s totally doable with a good plan. This guide will walk you through the process, one step at a time. Of course, if you decide you’d rather leave it to the experts, the professional deck builders in Barrie are always ready to help create your perfect outdoor oasis.
Step 1: Planning Your Perfect Deck

Before you even touch a tool, a little planning goes a long way. This first step is all about getting your ideas on paper and making sure your project is set up for success from the start.
Designing Your Deck Layout and Size
First, think about how you’ll use your deck. Will it be a small spot for morning coffee or a large area for hosting family barbecues? Grab a piece of graph paper and sketch out your vision. Consider the size of your house and yard—you want the deck to feel like a natural extension of your home, not an afterthought. Think about details like where the stairs will go and if you want built-in benches or planters.
Checking Local Building Codes and Getting Permits
This part is super important. Before you build, you need to contact your local municipal office to ask about building permits. Most areas have rules about how big, how tall, and how close to your property line a deck can be. They’ll also have specific safety requirements, especially for railings. Getting the right permits upfront will save you from major headaches down the road.
Step 2: Setting a Strong Foundation
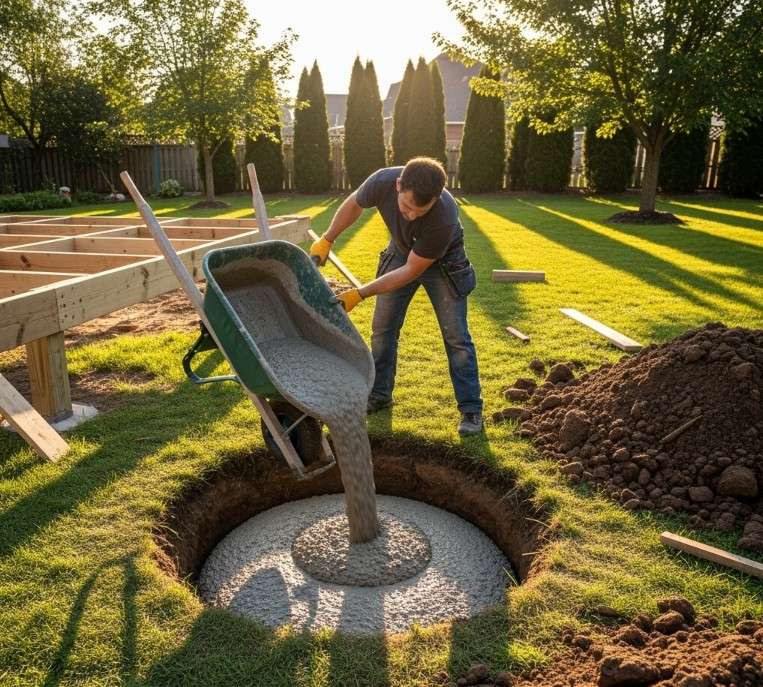 A great deck needs a solid base. The foundation is what keeps your deck stable and secure for years to come, so it’s worth taking your time to get it right.
Mapping Out and Digging the Footings
Use stakes and string to outline where your deck will be in the yard. This simple grid will show you exactly where you need to dig holes for the footings, which are the concrete piers that support the deck’s posts. Make sure your layout is perfectly square! Dig the holes deep enough to go below the frost line—this prevents the ground from shifting your deck when it freezes and thaws.
Pouring Concrete and Setting Support Posts
Once your holes are dug, you’ll place cardboard tubes (called footing forms) inside them. Mix your concrete according to the package directions and pour it into the forms. While the concrete is still wet, place metal post anchors on top. Use a level to make sure they are perfectly straight and positioned correctly before the concrete sets.
Step 3: Framing the Deck Structure
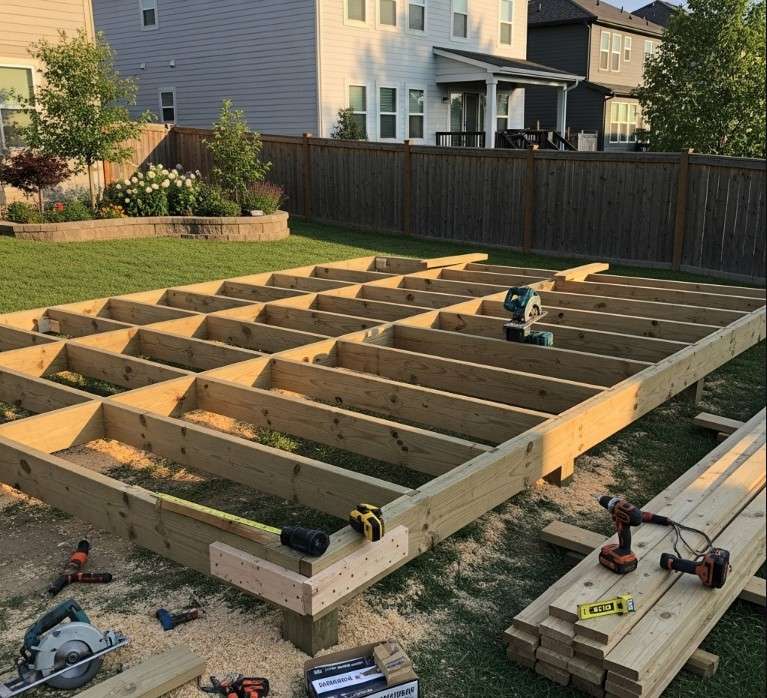 Now it’s time to build the skeleton of your deck. The frame is the hidden structure that supports the floorboards you’ll walk on.
Attaching the Ledger Board to Your House
The ledger board is the piece of lumber that connects the deck directly to your house. It’s arguably the most critical part of the frame. It must be securely bolted to your home’s foundation or rim joist. You’ll also need to install flashing—a thin piece of waterproof material—between the ledger and the house to keep water from getting in and causing rot.
Assembling the Outer Frame and Installing the Joists
With the ledger board in place, you can build the rest of the frame. This involves creating the outer rim of the deck that sits on your support posts and then hanging the inner floor joists. These joists are typically spaced 16 inches apart and are attached with metal joist hangers. This grid-like structure provides all the support for your decking.
Step 4: Laying the Decking and Stairs
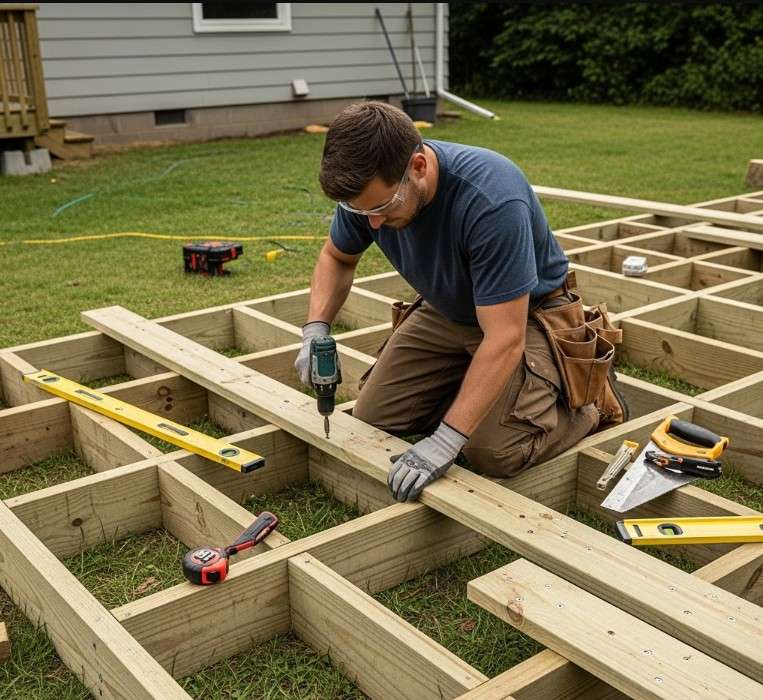 This is the exciting part where your deck really starts to look like a deck! You get to cover the frame and create the surface you’ll enjoy every day.
Choosing the Right Decking Material for You
You have a few great options for decking. Pressure-treated wood is the most common and affordable choice. Cedar is a beautiful, natural alternative that resists rot and insects. For a low-maintenance option, composite decking is a fantastic product made from a mix of wood fibers and recycled plastic that never needs staining. Choose the one that best fits your budget and style.
How to Properly Fasten Your Deck Boards
Start laying your deck boards from the outside edge of the frame and work your way toward the house. It’s important to leave a small gap (about the width of a nail) between each board. This allows for water drainage and gives the wood room to expand and contract with the weather. Use two deck screws where each board crosses a joist for a secure fit.
Step 5: Adding the Finishing Touches
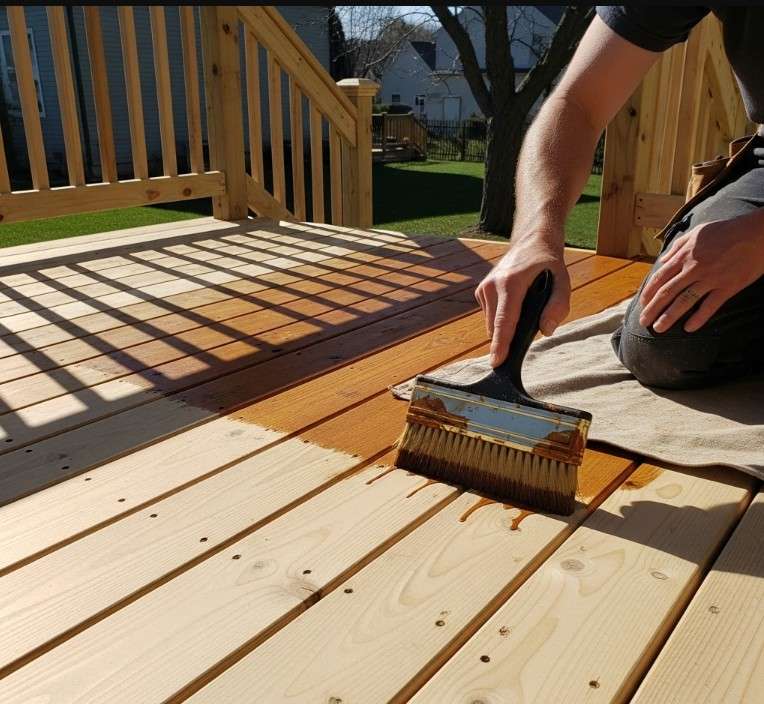 You’re almost there! These final steps are all about safety and protecting your hard work so it looks great for years to come.
Building and Installing Railings for Safety
If your deck is more than a couple of feet off the ground, you will need to install railings for safety. Start by securely attaching the main railing posts to the deck frame. Then, add the top and bottom rails between the posts. Finally, install the balusters (the vertical spindles) to fill in the space, making sure they are spaced correctly according to your local code.
Staining, Sealing, and Protecting Your New Deck
If you used natural wood, you’ll want to protect it from the sun and rain. After letting new wood dry for a few weeks, apply a quality stain or sealer. This not only adds color and brings out the wood’s natural beauty but also creates a protective barrier against moisture and UV rays, preventing the wood from cracking or turning gray.
Final Words
Congratulations on learning the key steps to building your own patio deck! It’s a big project, but seeing the final result and knowing you built it yourself is an incredible feeling.
However, we know that a project of this size isn’t for everyone. If this guide has you feeling a bit overwhelmed, or if you simply want a flawless, professional finish without all the hard work, we’re here to help.
Give the team at Zen Sunrooms a call. We’d be happy to bring your dream deck to life.
Brand Name: Zen Sunrooms
Phone: (683) 380-6552
Website: https://zensunroomsto.com/